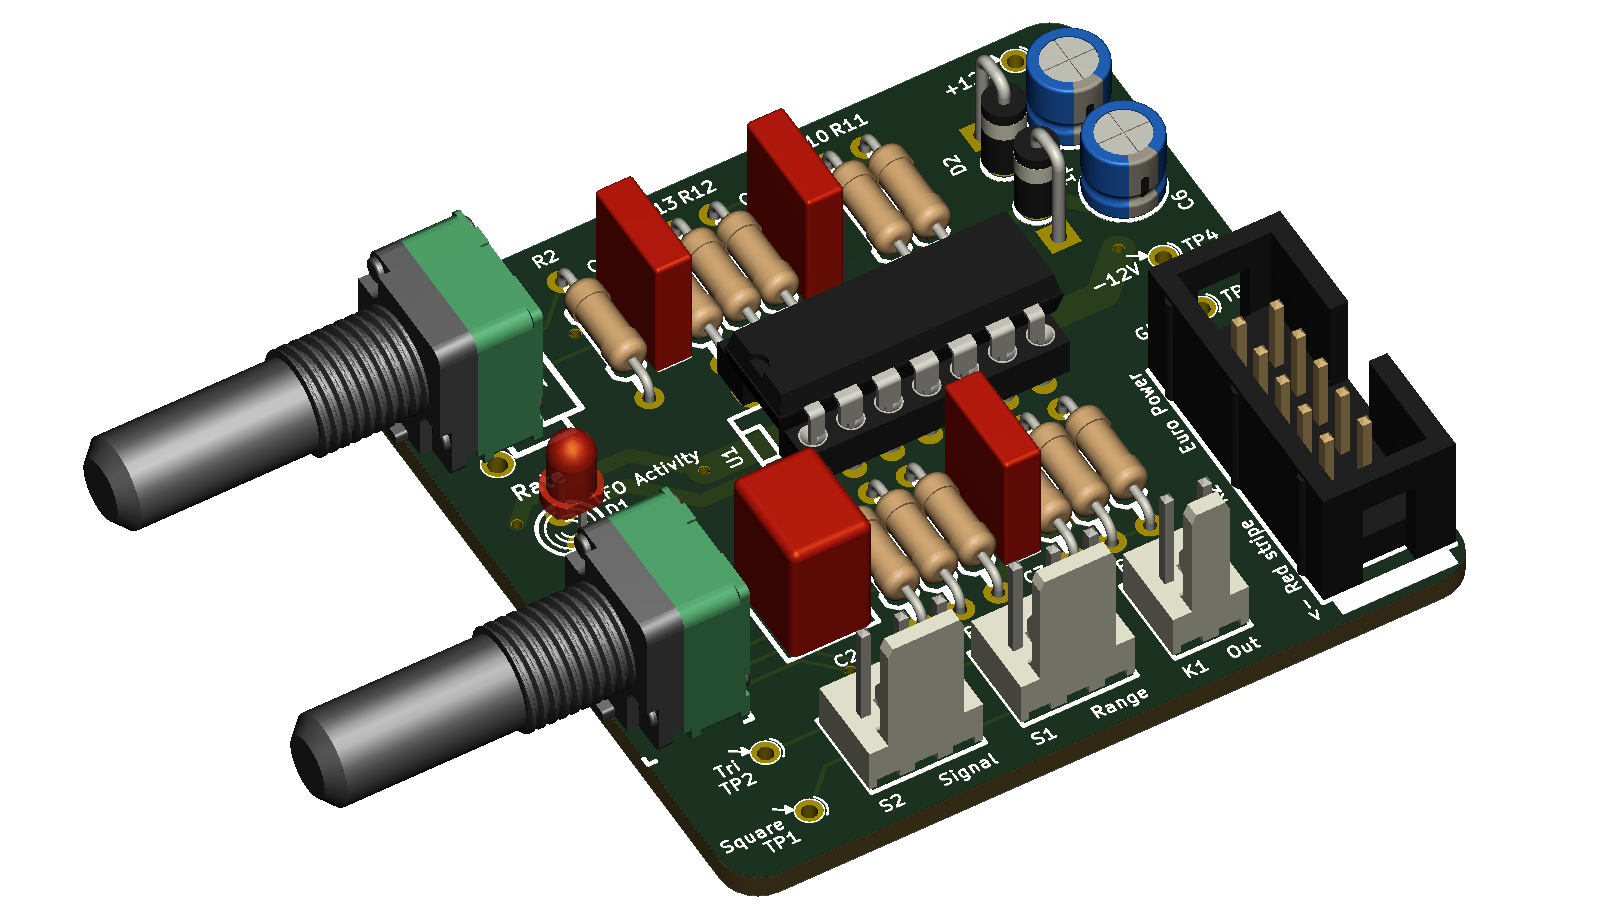
This is an update of the Simple LFO module.
The major improvement is the implantation of an amplitude potentiometer on the PCB.
Continue reading Simple LFO 1.2This is an update of the Simple LFO module.
The major improvement is the implantation of an amplitude potentiometer on the PCB.
Continue reading Simple LFO 1.2The DM77 is a clone of the famous drum synth Coron DS8. It’s essentially a VCO associated with an Envelope generator and its VCA. But it can also be used as a simple, almost standalone, synth.
Here’s a quick demo of two DM77 playing the Chase theme by G. Moroder. The purpose of the video is to show the 1V/Octave tracking capabilities of the DM77.
Thank you Kristian for this excellent video and your friendly support!
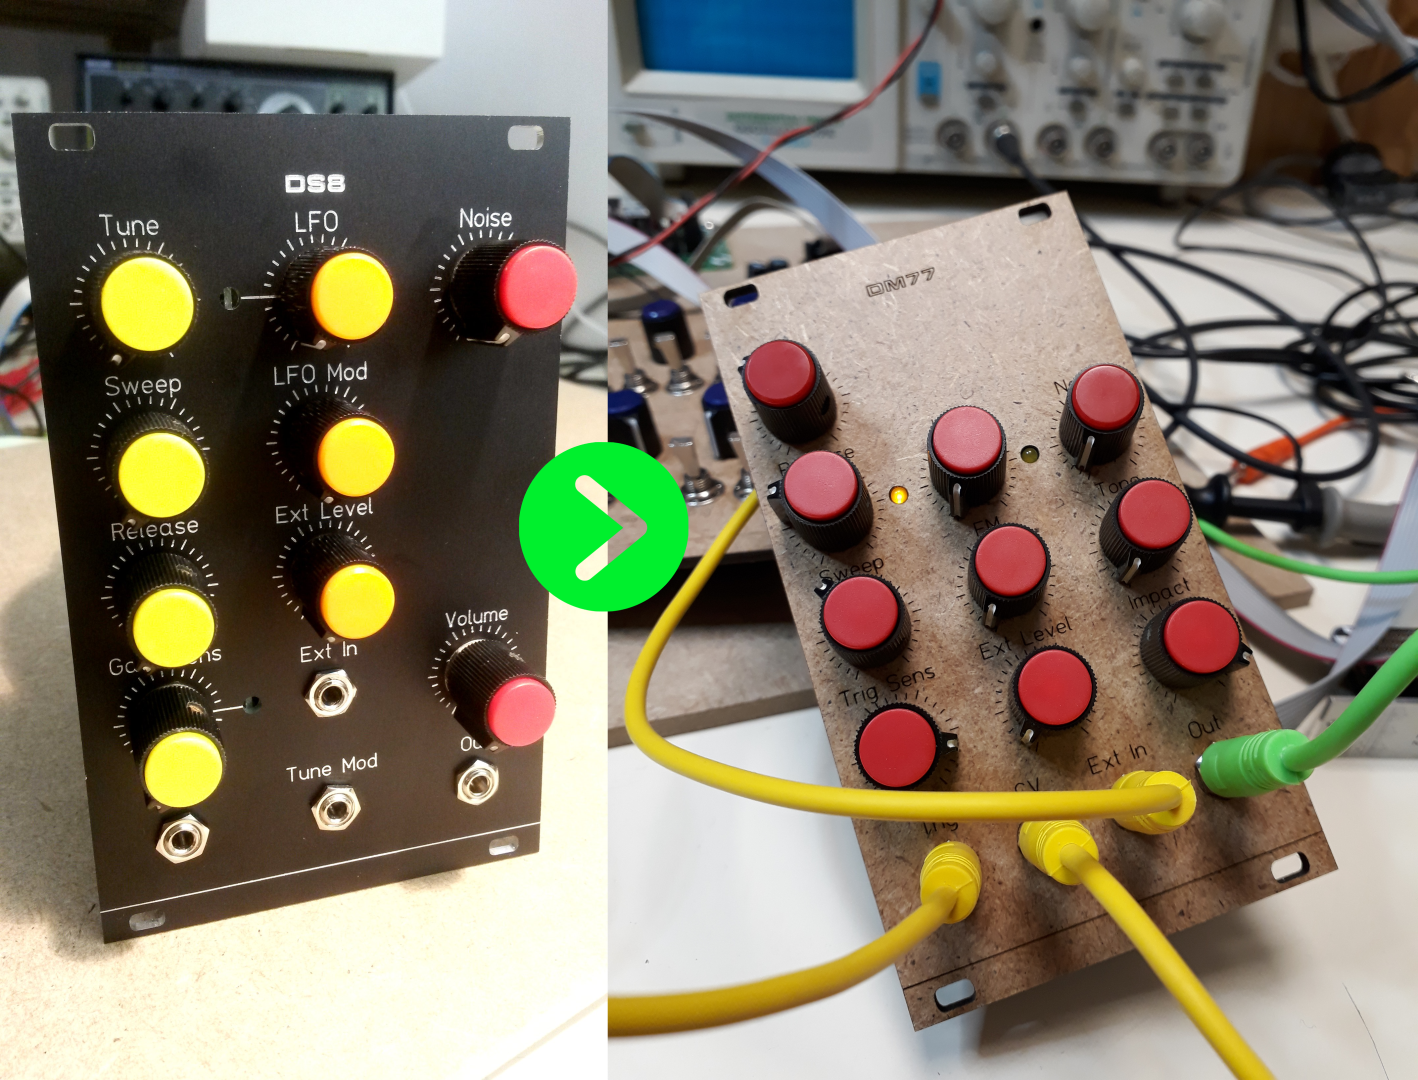
One of my first projects (and one of my first posts here) was about a clone of the classic funky/cheesy drum synth, the Coron DS8. You know the piouuu piouuu drum sounds from disco era? Well it’s probably the DS8.
Continue reading From DS8 to DM77
A short demo of the SLMS, showing the following features: CV input, Low Pass filter with resonance, VCA, Gate input, Attack/Release with retrig and LFO.
The CV and Gate signals are generated by MIDI interface CVpal by Mutable Instruments. The sequence is generated by Qtractor on Linux.
Recorded with my Tascam DR-08.
I’m having fun at my local Fablab!
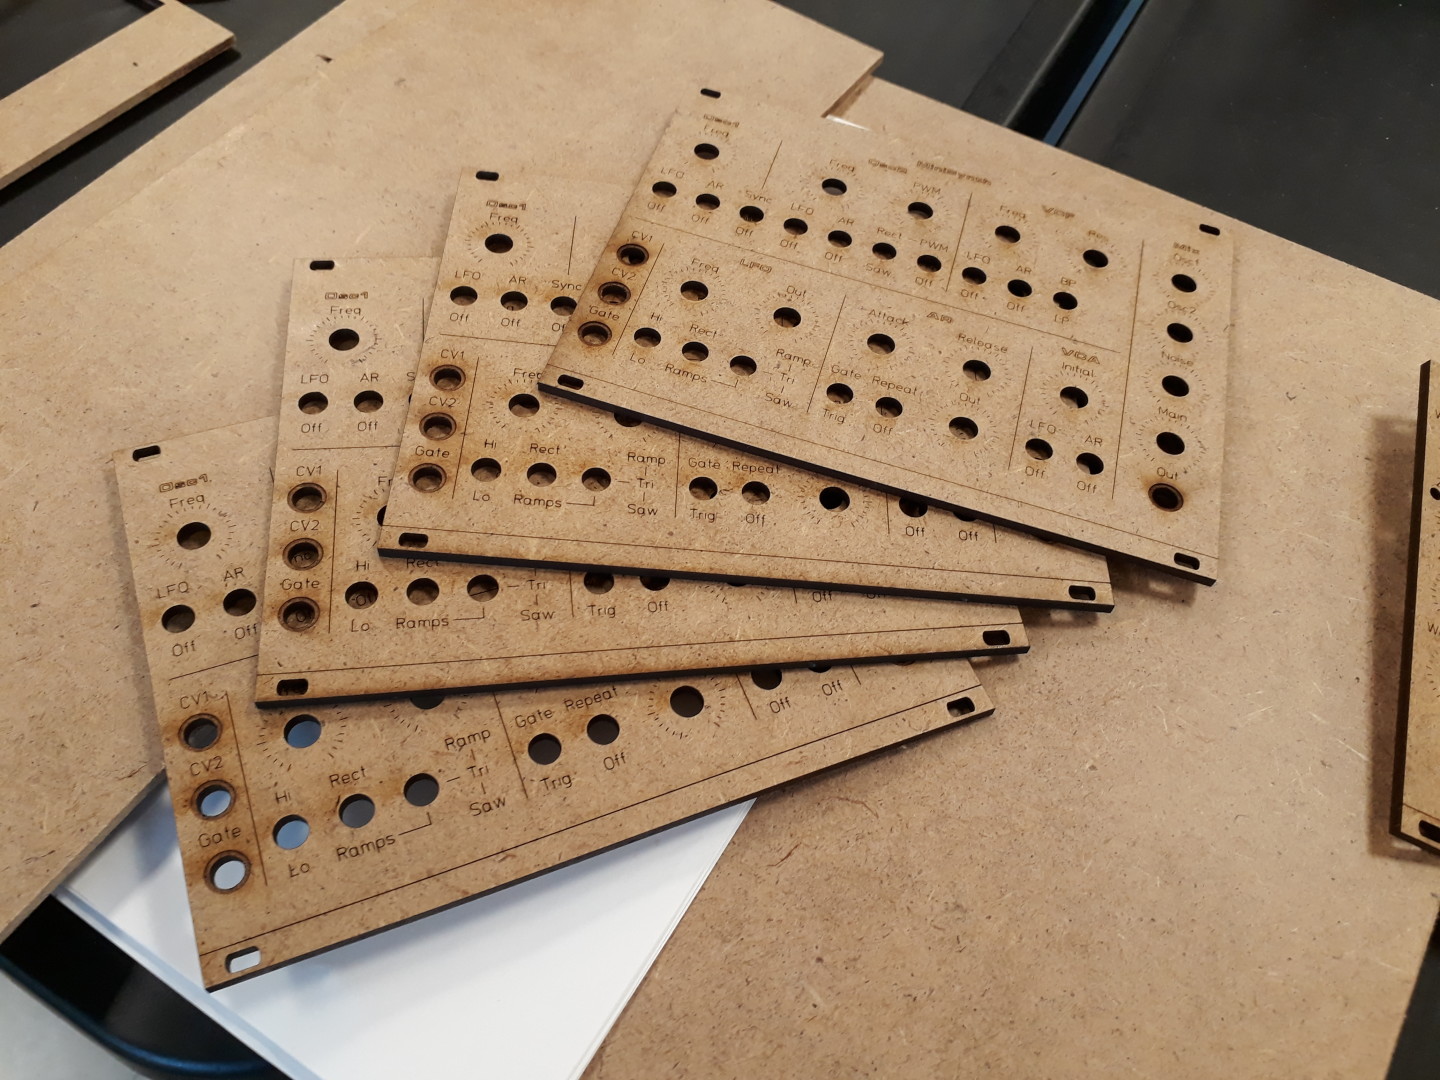
Continue reading Laser cut MDF Euro Panels for the Sound Lab Mini-Synth
A quick and dirty demo on the capabilities of the WSG. Warning, lot of sounds.
The SMT adaptation was a hobby project. The MFOS designs are the property of SynthCube.
If you want to buy PCB for the MFOS synths, please visit musicfromouterspace.com
Here comes my next conversion of Ray’s classic analog synthesizer, the Weird Sound Generator!
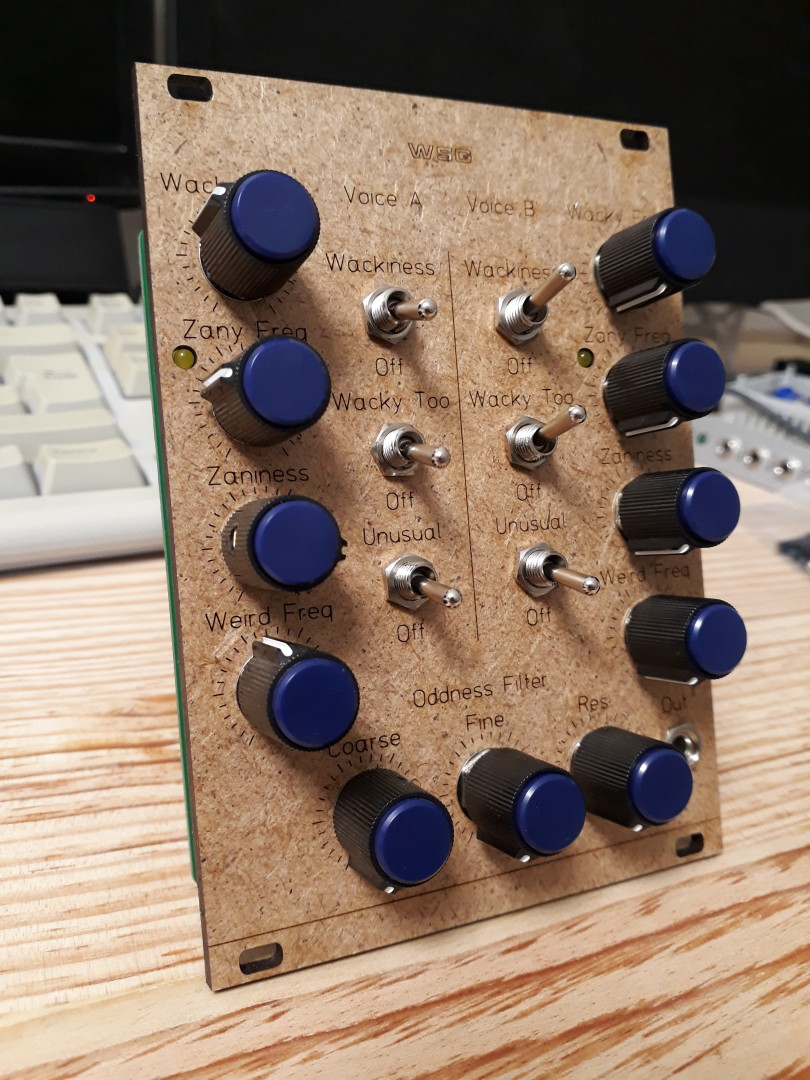
This is the same process as for my previous SMT/Eurorack conversion of the Sound Lab Mini-Synth. The circuit is identical to the original, including component references.